SEPTEMBER SALE - 25% OFF - FREE DELIVERY

LEARN WITH US

From an idea
to art on your wall.

Ten short guides to help you create, edit and restore. See the artwork in a room, follow the steps, then explore the finished image.

Open AI Studio
A little guidance.
A lot of possibility.

Captioned videos · Written steps
Desktop and phone formats

START WHERE YOU ARE

What would you like to make?

No sign-in needed to watch.

10 tutorials

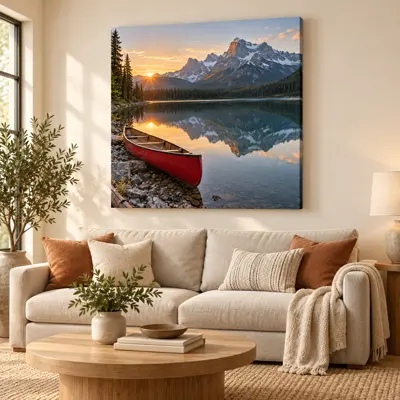
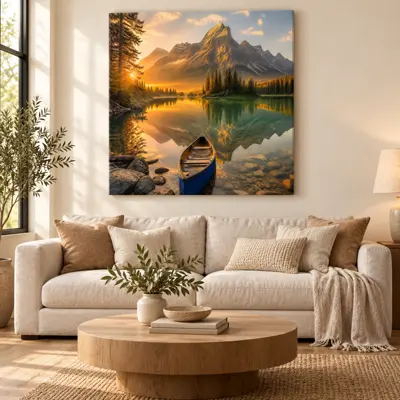
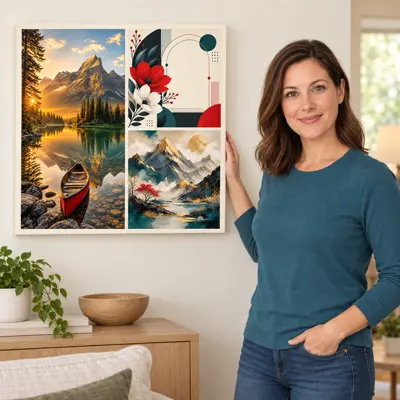
Example artwork displayed on a wall for Make an AI collage 1:24

Collages

Make an AI collage

Bring several favourite images together in a single AI collage.

Watch tutorial
Read the steps
  1. Choose AI collage

    Open AI Studio. Choose Make a collage, then AI Collage Builder.

  2. Select your images

    Choose Files, then select the images you want to bring together. Your file picker may look a little different. Here, we're choosing three images.

  3. Check every upload

    Back in the studio, check that all three uploads are here. Use Manage if you need to replace or remove an image.

  4. Choose the shape

    Choose a shape for your collage. We're using square.

  5. Describe the arrangement

    Choose a starting style, then describe the arrangement. For this example, put the lake photo on the left, with the floral artwork and mountain painting stacked on the right. Add cream borders and even spacing.

  6. Review your collage

    Review all three images and your instructions. When you're ready, complete the security check and choose Generate collage.

  7. See the example result

    Here's the example collage we created for this tutorial. Notice how each image has its own panel. Your AI result may vary, so check the details before printing.
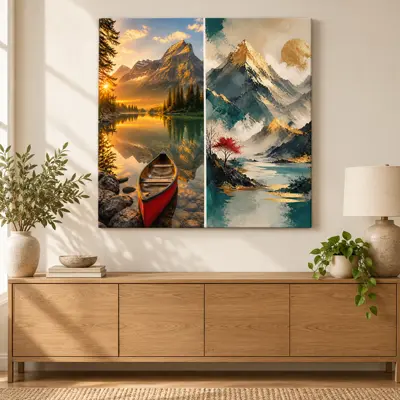
Example artwork displayed on a wall for Build a manual collage 1:02

Collages

Build a manual collage

Arrange your photos yourself with a ready-made collage layout.

Watch tutorial
Read the steps
  1. Choose manual collage

    Want to arrange the original images yourself? Open Make a collage and choose Manual Collage Builder. This option keeps your uploaded photo layers unchanged.

  2. Add images and a background

    Choose two to ten images. Next, choose a background colour. We will keep this soft white background to give the images room to stand out.

  3. Choose a layout

    Select a layout that suits your story. Clean grid keeps everything balanced. Story strip, Centered hero, and Polaroid collage offer other arrangements.

  4. Open the collage editor

    Choose your canvas shape, then open the collage editor. We will use a square layout for these two mountain images.

  5. Fine-tune the photo crop

    Select a photo to adjust it. Move image inside frame lets you refine the crop. You can also adjust rotation, borders, corners, and shadows.

  6. Save your collage

    When you are happy with the arrangement, choose Save image. Review the saved collage before you download it or continue to print.

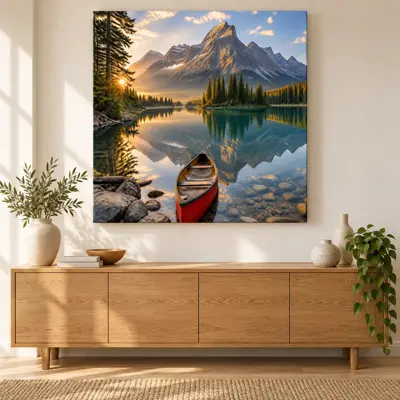
Example artwork displayed on a wall for Create an AI photo 0:47

Create

Create an AI photo

Turn a written idea into a new photographic image.

Watch tutorial
Read the steps
  1. Start with a photo

    Let’s create a new image from an idea. In AI Studio, choose Generate an AI image, then select Create a photo for a photographic look.

  2. Choose the shape

    Choose the shape before writing your prompt. We are using a square composition, but you can also create portrait or landscape images.

  3. Describe your scene

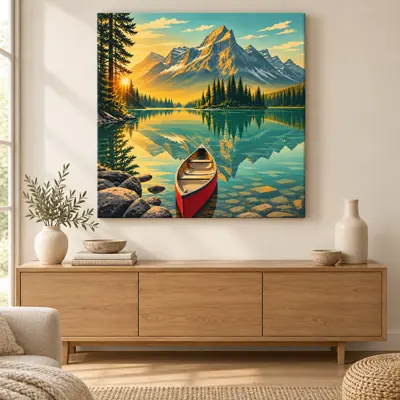
    Describe the subject, setting, lighting, and mood. For this example, we are asking for a peaceful mountain lake at sunrise with a red canoe in the foreground.

  4. Review before generating

    Check your image, shape, and instructions in the recap. When you are ready, complete the security check and choose Generate Image. Carefully review the finished artwork before downloading or printing.

Example artwork displayed on a wall for Create a sign or design 0:45

Create

Create a sign or design

Create a graphic design from a description and your chosen style.

Watch tutorial
Read the steps
  1. Choose a design

    Need a sign, poster, or graphic? In AI Studio, choose Generate an AI image, then Create a design.

  2. Choose the shape

    Choose the shape for your design. Think about where the finished piece will be displayed and how much space the words need.

  3. Give the exact wording

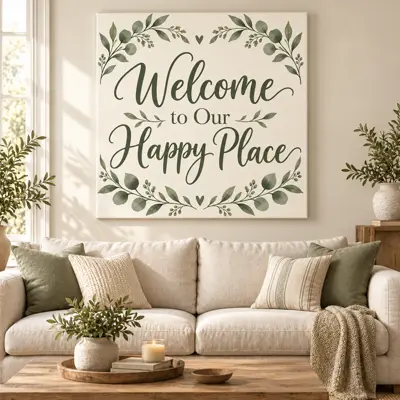
    Put the exact wording in quotation marks. Add your preferred colours, layout, and style. Here, we are making a simple welcome sign with sage green accents.

  4. Check every word

    Review the instructions, then complete the security check and choose Generate Image. After generation, check every letter, name, and date before using the design.

Example artwork displayed on a wall for Create original wall art 0:45

Create

Create original wall art

Make original wall art, from watercolour to a painterly landscape.

Watch tutorial
Read the steps
  1. Choose artwork

    Turn an idea into something for your wall. Choose Generate an AI image, then select Create artwork.

  2. Choose the shape

    Choose the shape that suits your space. We will use a square composition for this mountain landscape.

  3. Describe the artistic style

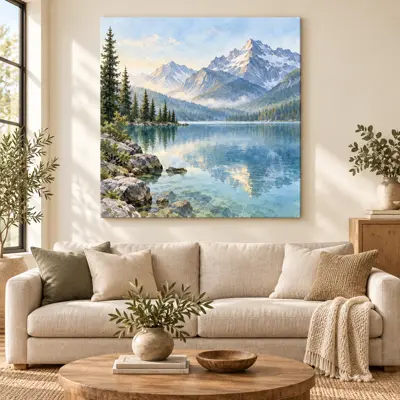
    Name the subject and the artistic style. Add a colour palette and the mood you want. We are asking for soft watercolour mountains with calm blue and green tones.

  4. Review before generating

    Check your image, shape, and instructions in the recap. When you are ready, complete the security check and choose Generate Image. Carefully review the finished artwork before downloading or printing.

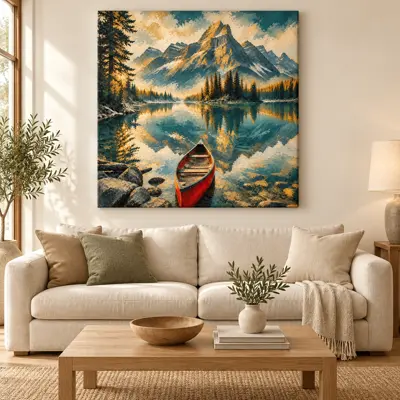
Example artwork displayed on a wall for Create from a reference 0:51

Create

Create from a reference

Use an uploaded reference to guide a new image.

Watch tutorial
Read the steps
  1. Start with a reference

    Have an image to guide your idea? Choose Generate an AI image, then Use a reference image.

  2. Upload your reference

    Choose an image that shows the subject, colours, or mood you want. We are using this mountain lake as our starting point.

  3. Choose the output shape

    Choose the shape for the new image. This sets the output proportions; your reference helps guide what appears inside them.

  4. Explain what to carry over

    Tell the AI what to keep and what to change. Here, we want to keep the mountain lake and canoe, while changing the scene into a travel-poster style.

  5. Review before generating

    Check your image, shape, and instructions in the recap. When you are ready, complete the security check and choose Generate Image. Carefully review the finished artwork before downloading or printing.

Example artwork displayed on a wall for Edit the whole image 0:45

Edit & restore

Edit the whole image

Transform the overall look of a photo with clear editing instructions.

Watch tutorial
Read the steps
  1. Upload a photo to edit

    Let’s change the overall look of a photo. Choose Edit an image with AI, then upload the image you want to work on.

  2. Choose the whole image

    Select Edit the whole image. This is useful when your changes affect the lighting, colours, background, or overall style.

  3. Say what should change

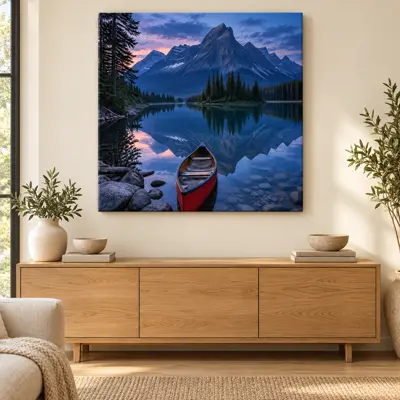
    Describe the change and the details that should stay. We are asking for cooler evening light while preserving the mountains, lake, and red canoe.

  4. Review the edit plan

    Review your instructions and any edit plan shown. Check the input area before continuing. Complete the security check, generate the edit, and compare the result with your original.

Example artwork displayed on a wall for Edit a specific area 0:42

Edit & restore

Edit a specific area

Select a particular area and describe the change you want.

Watch tutorial
Read the steps
  1. Upload a photo to edit

    Want to change just one part of a photo? Choose Edit an image with AI, then upload your image.

  2. Mark the area

    Choose Edit a specific area. Brush over the part you want changed. In this example, we are marking the canoe in the foreground.

  3. Describe the local change

    Choose Done marking, then describe your edit. We are asking to recolour the canoe blue while keeping the surrounding lake and mountains unchanged.

  4. Review the marked edit

    Check the selected area and instructions. Complete the security check and generate the edit when ready. Inspect the boundary of the changed area in the finished result.

Example artwork displayed on a wall for Match an example style 0:46

Edit & restore

Match an example style

Use an example image to guide the style of your photo.

Watch tutorial
Read the steps
  1. Start with your original

    Let’s apply a look from another image. Choose Edit an image with AI, and upload the original photo you want to change.

  2. Add a style example

    Choose Match an example. Upload a separate image that shows the colours, texture, or style you like, then choose Use this example.

  3. Explain the match

    Your original and sample appear together. Tell the AI what to borrow from the sample and what to preserve in the original. We want this painted texture and teal-and-gold palette.

  4. Review both inputs

    Review your instructions and the input areas for both images. Complete the security check, then generate. Compare the finished style and subject details before printing.

Example artwork displayed on a wall for Restore an image 0:38

Edit & restore

Restore an image

Give an older or damaged image a fresh look with restoration instructions.

Watch tutorial
Read the steps
  1. Choose an image to restore

    Give an image a fresh start. In AI Studio, choose Restore any image, then upload the photo you want to improve.

  2. Choose the repair

    Choose Full restoration, Restore colours, Repair damage, or Sharpen faces. You can also write your own instructions. For this mountain image, we will focus on natural clarity and colour.

  3. Review the restoration

    Check your restoration notes, complete the security check, and choose Generate Image. Compare the result with the original, especially faces and fine details, before you print.

Videos combine recorded steps with separately created example artwork and room scenes. Your results can vary; check the details before printing.
AI STUDIO GUIDES

Watch a tutorial

Watch a guide, then pick up where you left off.

Open the full tutorial library in a new tab
Chat with Canvas Prints
Checking owner availability...
Uploading image
Please wait while we attach it to your chat.
This chat is finished.
Your messages stay here. Type a message and press Send to start a new conversation.
AI can answer, create a ticket, or request a live handoff.
Google Rating
4.9 ★★★★★
773 combined Google reviews