Toronto has a look. You can feel it in the photos: glass towers catching sunset, streetcar lines, brick alleys, lake light, and that clean, modern energy that somehow still has character.
If you’ve got Toronto photos sitting in your phone—skyline shots, neighbourhood walks, a perfect fall afternoon in the city—this is your reminder that those images deserve better than being buried under 9,000 screenshots.
This guide shows you how to turn Toronto moments into museum-grade canvas prints and build a gallery wall that works in real Toronto spaces (yes, condos included). You’ll learn:
- what Toronto photo styles print best on canvas
- the easiest layout formulas for small walls
- size picks that look intentional
- how to keep a gallery wall feeling “curated” instead of chaotic
Why Toronto photos look so good on canvas
Toronto photography often has strong structure:
- clean lines (condo architecture, bridges, streetcar wires)
- bold contrast (glass + sky, brick + shadow)
- iconic silhouettes (CN Tower, skyline, lake horizon)
Canvas adds depth and texture, which makes those lines feel more “art” and less “random photo I took while walking to dinner.”
Step 1: Choose your Toronto wall theme (one sentence is enough)
A gallery wall looks expensive when it has a clear idea behind it. Pick one:
Theme A: Skyline + lake light
CN Tower silhouettes, waterfront horizons, sunrise/sunset reflections.
Theme B: Neighbourhood texture
Brick walls, murals, café corners, alleyways, storefront details.
Theme C: Streetcar city
Streetcars, tracks, rainy reflections, downtown glow.
Theme D: Seasons in the city
Cherry blossoms, summer patios, fall colour, winter street scenes.
You can mix, but choose a dominant theme so the wall feels cohesive.
Step 2: The Toronto photo types that print best on canvas
1) Wide skyline shots
These are perfect as a hero canvas above a sofa or bed.
Best time to shoot:
- golden hour
- blue hour (right after sunset)
2) Minimal lake horizons
Simple horizons look high-end on canvas because they feel calm.
Tip: keep the horizon level—small detail, big difference.
3) Street-level “leading lines”
Tracks, sidewalks, bridges, and crosswalks naturally pull the eye through the image.
4) Architectural details
Close-ups of:
- repeating windows
- staircases
- steel beams
- brick texture
These are amazing supporting pieces in a gallery wall.
5) People-in-the-city candid shots
Not posed. Real life. A walk, a laugh, a coffee run. Those photos make your wall feel personal, not like stock art.
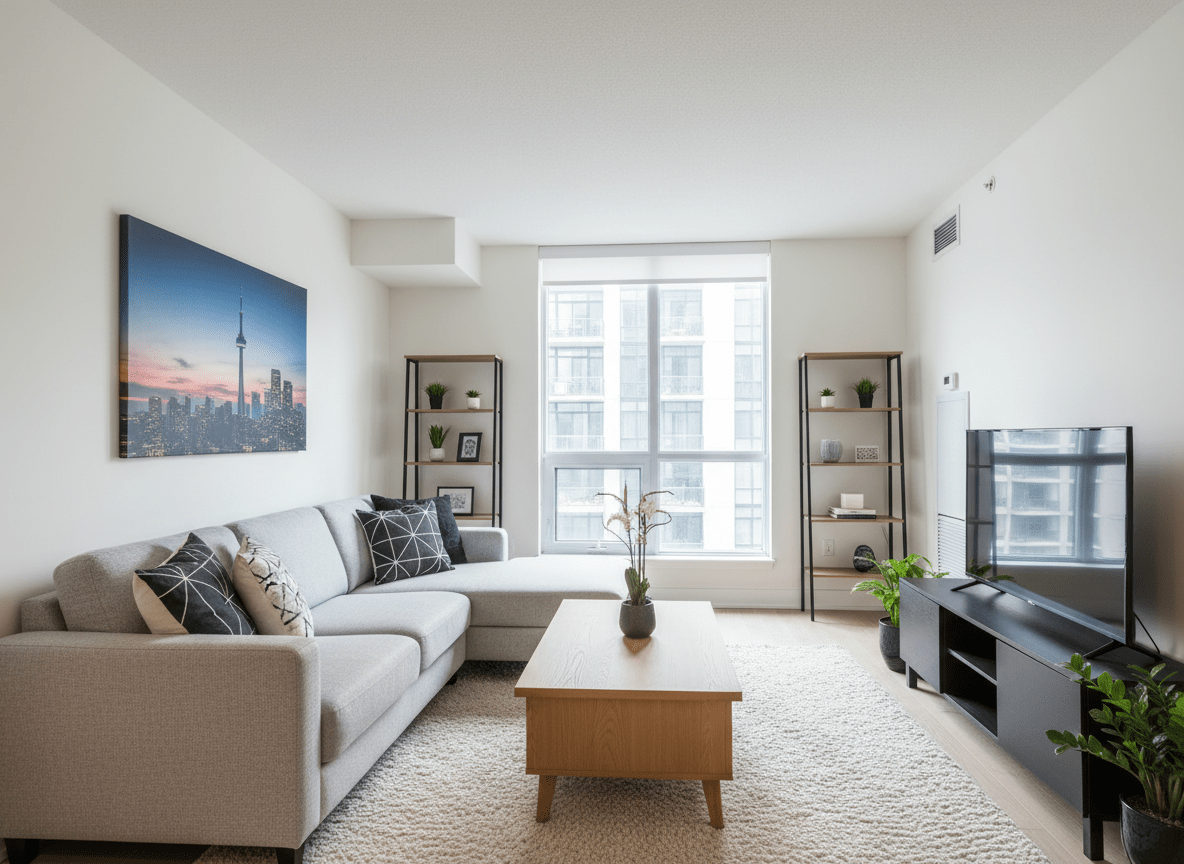
Step 3: Toronto sizing that works (especially for condos)
Toronto walls often have two challenges:
- less space
- more visual “stuff” already happening (furniture, shelves, windows)
So the goal is impact without clutter.
Best hero sizes
- 20×30: the safest “big but not too big” choice
- 24×36: statement piece for larger walls
Best gallery wall sizes
- 12×16 + 16×20 mix
Best small accents
- 10×10 or 8×10 for shelves, desks, and narrow walls
If you’re unsure, start with one hero canvas. You can always add later.
Step 4: Layout formulas that always look clean
Layout 1: The “Hero + Two” (my favourite for condos)
- 1 hero canvas (20×30)
- 2 supporting canvases (16×20)
It looks balanced without taking over the room.
Layout 2: The “Tidy Grid” (for modern Toronto interiors)
- 4 canvases the same size (12×16 or 16×20)
- even spacing
Grids make mixed subjects feel organized.
Layout 3: The “Hallway Line”
- 3 canvases in a row (12×16)
Perfect for condo hallways and entry corridors.
Spacing tip: keep spacing consistent—about 2–3 inches between canvases.
Step 5: Make your wall match your room (without redecorating)
Toronto interiors often lean modern: neutrals, black accents, wood tones.
Here’s the easiest way to make your canvases fit:
- choose photos with one repeating colour (blue, warm gold, charcoal)
- repeat that colour somewhere in the room (pillow, throw, plant pot)
Instant cohesion.
Step 6: Editing tips for Toronto city photos
City photos can print too dark if you don’t prep them.
Quick edit checklist:
- lift exposure slightly
- add a touch of contrast
- keep saturation natural
- sharpen lightly
If you love the moody look, keep it—just make sure details aren’t crushed into black.
Step 7: Make sure your file is print-ready
Before uploading:
- use the original file (not a screenshot)
- avoid images sent through apps that compress heavily
- don’t crop aggressively if you want a large canvas
If you’re unsure, upload it anyway—we can help confirm the best size for sharp printing.
Why museum-grade canvas matters for skyline + street photography
Toronto images rely on fine detail: lines, gradients, reflections.
That’s why we use:
- premium cotton canvas
- pigment-based archival inks for long-lasting colour
- handcrafted Canadian fir stretcher bars made in-house
The result: crisp detail, rich blacks, and a canvas that holds up beautifully over time.
Toronto idea: build a “city calm” wall for your work-from-home space
If you work from home, your wall matters more than you think.
Try this set:
- one lake horizon hero canvas (calm)
- two neighbourhood texture canvases (character)
It keeps the space feeling focused, not sterile.
Ready to turn Toronto moments into wall art?
If you’ve got skyline shots, streetcar scenes, or neighbourhood photos you love, we’ll help you turn them into gallery-worthy canvas prints—handcrafted, museum-grade, and made to last.
Order online anytime and enjoy free delivery on every order.
Helpful canvas print resources
Planning your order? Compare canvas print pricing, upload your image and order online, review our canvas print quality, or check returns, refunds, and shipping details.