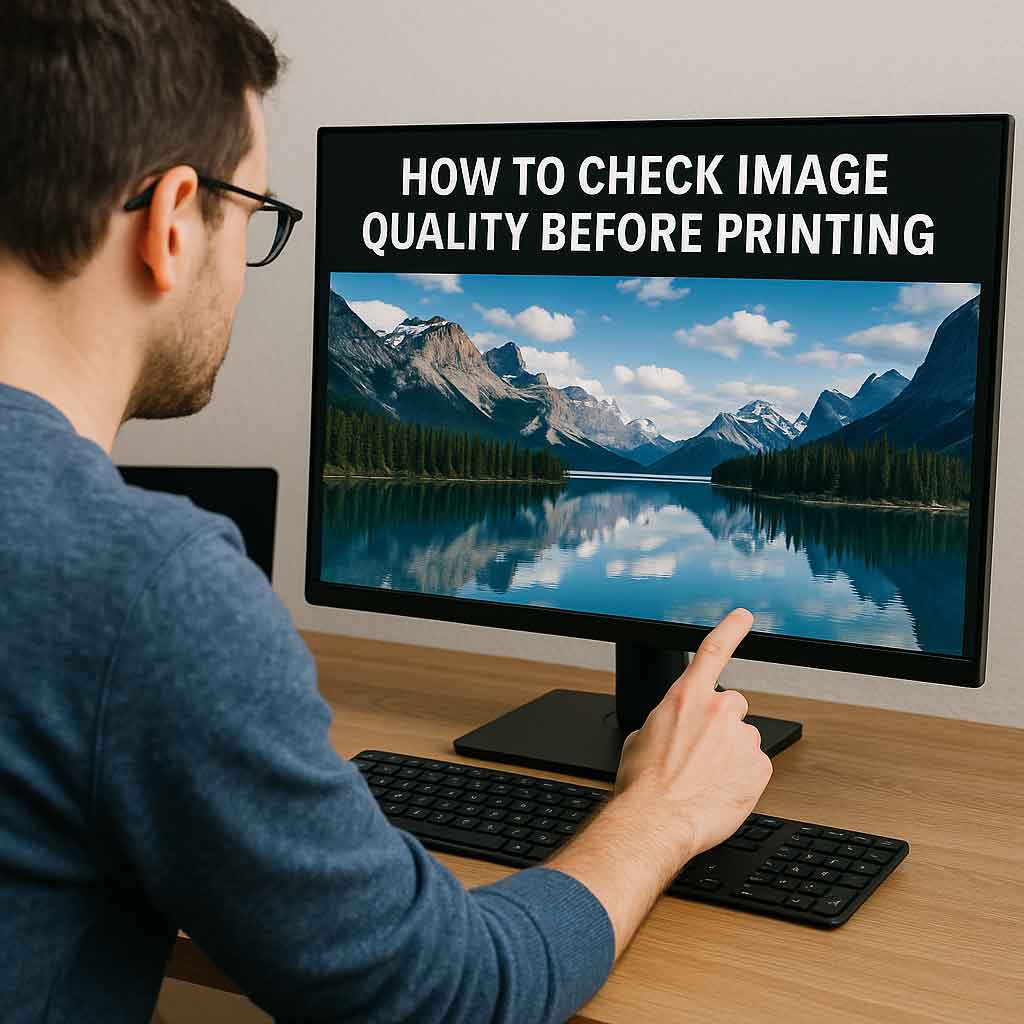
Thinking about printing a photo on canvas, paper, or as wall art? Before you upload and order, there’s one thing you should do first:
Check the image quality on your computer screen.
If your photo is too small, blurry, or over-edited, it won’t look good in print—especially at larger sizes. But don’t worry—you can figure out if your photo is print-ready using just your laptop or desktop.
Here’s a step-by-step guide on how to check image quality before printing, plus a few simple photo printing tips to get the best result possible.
Why You Should Always Check Image Quality Before Printing
Photos often look great on phones and social media because screens are small, bright, and forgiving. But when you print that same image—especially on a large canvas—those flaws show up fast.
✅ A high-resolution, sharp photo = clean, detailed print
❌ A low-resolution, blurry photo = soft, pixelated print
Checking the image properly ahead of time helps avoid wasted money, reprints, or disappointment.
Step 1: Decide What Size You Want to Print
First, pick the final size of the print you want to order. Examples:
- 8×10″ photo print
- 12×16″ framed print
- 16×20″ canvas
- 24×36″ wall art
You’ll need to make sure your image has enough resolution for that size. The bigger the print, the more detail you need.
Step 2: Find the Image Dimensions (Pixels)
Now, check how large your image actually is. This is called the pixel resolution.
How to find it:
- On Windows: Right-click the image > Properties > Details tab
- On Mac: Control + click > Get Info
Look for numbers like:
Width: 4000 pixels / Height: 3000 pixels
Step 3: Use This Simple Formula
To figure out how big your photo can be printed while still looking sharp, divide the pixel size by the print resolution (DPI).
Most professional printers recommend 300 DPI for sharp photo prints.
Pixels ÷ 300 = Print size in inches
Example:
4000 pixels ÷ 300 = 13.3 inches wide
3000 pixels ÷ 300 = 10 inches high
✅ This image can print up to 13×10” with excellent quality.
If you’re printing on canvas, you can go as low as 150–200 DPI since the texture hides some softness.
Step 4: Open the Image and Zoom to 100%
This is where your monitor comes in.
Open the image on your laptop or desktop, and zoom in to 100% (actual size). This shows you the photo at its true resolution—one image pixel per screen pixel.
💡 If the photo looks clear, detailed, and sharp at 100%, it will print well. If it looks soft, grainy, or messy, you’ll see those issues in the final product.
Step 5: Look Closely for These Issues
While viewing at 100%, check the most important areas of the photo—like eyes, faces, or text.
❌ Blurry edges
❌ Grain/noise in shadows
❌ Over-smoothed skin or artificial filters
❌ Blocky or pixelated compression
✅ If everything looks crisp and natural, you’re ready to print.
Step 6: Don’t Rely on Phones or Tablets
Phones, tablets, and even some laptops automatically boost contrast and sharpness to make images look better than they are. That can give you false confidence in an image that might not actually print well.
Always check your image on a desktop or good-quality laptop screen, preferably in natural lighting and with screen brightness at 75–80%.
Step 7: (Optional) Calibrate Your Monitor for Accurate Color
If color accuracy really matters (e.g. for portraits or fine art), you may want to calibrate your monitor. Most screens are too bright or too saturated out of the box.
You can use:
- Built-in calibration tools on Windows/Mac
- Calibration devices like SpyderX or X-Rite i1Display
It’s not necessary for casual photo printing, but helpful if you’re printing professionally or selling your art.
Step 8: Quick Reference – What Resolution Do You Need?
| Print Size | Ideal Pixels (300 DPI) | Good Enough for Canvas (150 DPI) |
|---|---|---|
| 8×10” | 2400 x 3000 | 1200 x 1500 |
| 12×16” | 3600 x 4800 | 1800 x 2400 |
| 16×20” | 4800 x 6000 | 2400 x 3000 |
| 24×36” | 7200 x 10800 | 3600 x 5400 |
Step 9: Bonus Tip – Test Print a Small Area
Still unsure? Print a small section of your image at 100% on a home printer or photo kiosk. You’ll quickly see how it holds up.
Focus on:
- Skin
- Text
- Eyes
- Background details
If it looks sharp and clean there, you’re safe to go big.
Final Thoughts
You don’t need any fancy tools to check image quality before printing. Your own computer screen—and a few minutes of attention—are all it takes to avoid a poor-quality print.
To recap:
✅ Choose your print size
✅ Check your image resolution
✅ Zoom to 100% and inspect details
✅ Avoid overly edited or small files
✅ Calibrate your screen if needed
✅ Do a small test print if you’re unsure
Ready to Print?
Once your image passes the quality check, you’re good to go! We use:
- Premium cotton canvas
- Giclée printing with fade-resistant inks
- Handmade frames and mounting
- Free shipping across Canada
Whether it’s a photo of your kids, your vacation, or your pet—you’ll be proud to hang it up.
